Mastering Remote IT Install Raspberry Pi: The Ultimate Guide For Tech Enthusiasts
Ever wondered how to set up a remote IT install using Raspberry Pi? Well, buckle up because we're about to dive deep into the world of tiny yet powerful computers that can change the way you manage your tech infrastructure. If you're an IT pro, hobbyist, or just someone curious about remote installations, this guide will be your go-to resource. Let's get started, shall we?
Remote IT installations aren't just for big corporations anymore. With the rise of remote work and distributed teams, even small businesses and individuals are looking for ways to manage their tech setups from afar. Enter Raspberry Pi—a compact, affordable, and highly versatile device that can revolutionize the way you handle remote IT tasks. Whether you're setting up a home server, automating tasks, or managing a network, Raspberry Pi is your ultimate ally.
Now, before we jump into the nitty-gritty, let's address the elephant in the room: why Raspberry Pi? Well, it's not just about its affordability. It's also about its flexibility, scalability, and the massive community of developers and enthusiasts who are constantly innovating with this tiny device. So, if you're ready to explore the world of remote IT installations with Raspberry Pi, let's break it down step by step.
Read also:Hub4u South The Ultimate Guide To Connecting Your Business In The Southern Region
Understanding Raspberry Pi: A Beginner's Perspective
Let's start with the basics. What exactly is Raspberry Pi, and why should you care about it? Raspberry Pi is essentially a single-board computer that's about the size of a credit card. Despite its small size, it packs quite a punch when it comes to processing power and functionality. Originally designed as an educational tool to teach programming, Raspberry Pi has since evolved into a versatile device used for everything from home automation to complex server setups.
Here are some key features that make Raspberry Pi stand out:
- Compact size makes it easy to deploy in tight spaces.
- Low power consumption means it can run 24/7 without breaking the bank.
- Open-source software support ensures flexibility and customization.
- A vast community of developers provides endless resources and tutorials.
For remote IT installations, Raspberry Pi is a game-changer. It allows you to set up headless servers, automate tasks, and manage networks without needing to be physically present. Plus, its compatibility with various operating systems and programming languages makes it a versatile tool for any tech enthusiast.
Why Choose Raspberry Pi for Remote IT Install?
When it comes to remote IT installations, there are plenty of options out there. But what makes Raspberry Pi the ideal choice? Let's break it down:
Cost-Effectiveness
Raspberry Pi is incredibly affordable compared to traditional servers or dedicated hardware. You can set up a fully functional remote IT environment for a fraction of the cost of other solutions. This makes it perfect for small businesses, hobbyists, and even educational institutions.
Energy Efficiency
Raspberry Pi consumes very little power, which is a huge plus if you're planning to run it 24/7. Unlike traditional servers that guzzle electricity, Raspberry Pi can operate efficiently without adding to your energy bills.
Read also:Desi 18 Junction The Rising Star You Need To Know About
Flexibility
One of the biggest advantages of Raspberry Pi is its flexibility. You can use it for a wide range of applications, from setting up a home media server to running complex automation scripts. Its compatibility with various operating systems and programming languages ensures that you can tailor it to your specific needs.
Getting Started with Raspberry Pi
Before you dive into remote IT installations, you need to set up your Raspberry Pi. Here's a quick guide to get you started:
What You'll Need
- Raspberry Pi board (any model will do, but newer models have better specs).
- MicroSD card (at least 16GB, preferably 32GB or higher).
- Power adapter (make sure it meets the power requirements of your Raspberry Pi model).
- HDMI cable (optional, if you want to connect to a monitor).
- Keyboard and mouse (optional, for initial setup).
Setting Up the Operating System
One of the first things you'll need to do is install an operating system on your Raspberry Pi. The most popular choice is Raspberry Pi OS, but there are plenty of other options depending on your needs. Here's how you can install it:
- Download the Raspberry Pi Imager from the official website.
- Insert your microSD card into your computer.
- Launch the Raspberry Pi Imager and select the operating system you want to install.
- Choose your microSD card as the target device and click "Write."
Remote Access Basics
Once your Raspberry Pi is set up, it's time to explore remote access options. Here are some of the most popular methods:
SSH (Secure Shell)
SSH is one of the most common ways to access your Raspberry Pi remotely. It allows you to control your device from another computer using a terminal or command-line interface. To enable SSH on your Raspberry Pi:
- Open the Raspberry Pi Configuration tool.
- Go to the "Interfaces" tab.
- Enable SSH and click "OK."
Once SSH is enabled, you can connect to your Raspberry Pi using an SSH client like PuTTY (for Windows) or Terminal (for macOS/Linux). Just enter the IP address of your Raspberry Pi and you're good to go.
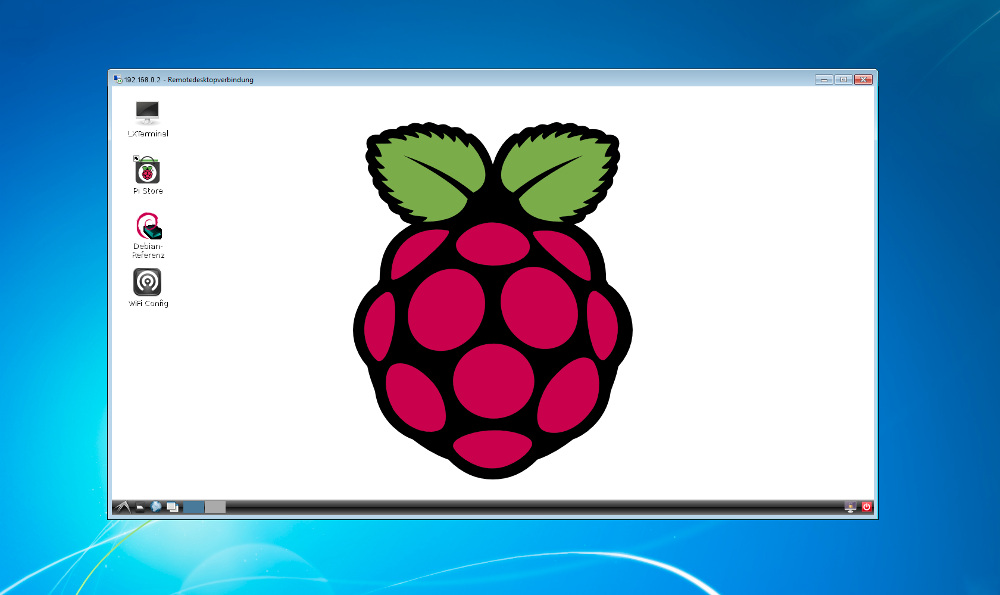
VNC (Virtual Network Computing)
If you prefer a graphical interface, VNC is the way to go. It allows you to remotely access the desktop environment of your Raspberry Pi as if you were sitting right in front of it. To set up VNC:
- Open the Raspberry Pi Configuration tool.
- Go to the "Interfaces" tab.
- Enable VNC and click "OK."
Once VNC is enabled, you can download the VNC Viewer app on your computer or mobile device and connect to your Raspberry Pi using its IP address.
Advanced Remote IT Installations
Now that you've got the basics down, let's explore some advanced remote IT installations you can do with Raspberry Pi:
Setting Up a Headless Server
A headless server is a server that runs without a monitor, keyboard, or mouse. This is perfect for remote IT installations where you don't need physical access to the device. To set up a headless server:
- Install the necessary software on your Raspberry Pi (e.g., a web server like Apache or Nginx).
- Configure the server to start automatically on boot.
- Use SSH or VNC to manage the server remotely.
Automating Tasks with Cron Jobs
Cron jobs allow you to schedule tasks to run automatically at specific intervals. This is great for remote IT installations where you want to automate routine tasks like backups, updates, or data processing. To set up a cron job:
- Open the terminal on your Raspberry Pi.
- Type "crontab -e" to edit the cron job list.
- Add your desired task and schedule.
Security Considerations
When it comes to remote IT installations, security should always be a top priority. Here are some tips to keep your Raspberry Pi secure:
Change Default Passwords
One of the easiest ways to secure your Raspberry Pi is to change the default password. You can do this by running the "passwd" command in the terminal and entering a new password.
Use a Firewall
A firewall can help protect your Raspberry Pi from unauthorized access. You can use tools like UFW (Uncomplicated Firewall) to set up a basic firewall on your device.
Keep Software Updated
Regularly updating your software is crucial to ensure that any security vulnerabilities are patched. You can update your Raspberry Pi by running the "sudo apt update" and "sudo apt upgrade" commands in the terminal.
Real-World Applications
So, what can you actually do with a remote IT install using Raspberry Pi? Here are some real-world applications:
Home Automation
Use Raspberry Pi to control smart home devices like lights, thermostats, and security systems. You can even set up a custom dashboard to monitor and manage everything from one place.
File Server
Set up a Raspberry Pi as a file server to store and share files across your network. This is perfect for small businesses or households that need a centralized storage solution.
Media Server
Turn your Raspberry Pi into a media server to stream movies, music, and photos to all your devices. With software like Plex or Kodi, you can create your own personal entertainment hub.
Conclusion
In conclusion, remote IT installations with Raspberry Pi offer endless possibilities for tech enthusiasts and professionals alike. From setting up headless servers to automating tasks and managing networks, Raspberry Pi is a versatile and powerful tool that can revolutionize the way you handle remote IT tasks.
So, what are you waiting for? Grab your Raspberry Pi, follow the steps in this guide, and start exploring the world of remote IT installations. And don't forget to share your experiences and creations with the community. Who knows, you might just inspire someone else to embark on their own Raspberry Pi journey!
Table of Contents
Article Recommendations