Revolutionizing Connectivity: Deployment Of IoT With Raspberry Pi
Imagine a world where your devices talk to each other, solve problems for you, and make life easier. That’s not just a dream anymore; it’s the power of IoT—or the Internet of Things. And guess what? You don’t need a billion-dollar setup to tap into this futuristic tech. With something as simple as a Raspberry Pi, you can deploy IoT solutions right from your living room.
Now, before we dive deep into the nitty-gritty of deploying IoT with Raspberry Pi, let’s take a moment to appreciate how far technology has come. Back in the day, having a computer at home was considered a luxury. Fast forward to today, and we’re talking about connecting fridges, thermostats, and even your pet feeder to the internet. Cool, right?
But here’s the deal: while IoT sounds fancy, it doesn’t have to be complicated. Using Raspberry Pi as your IoT deployment tool is like having a Swiss Army knife for tech enthusiasts. It’s versatile, affordable, and packed with potential. So, buckle up because we’re about to explore the ins and outs of how you can harness the power of IoT using Raspberry Pi.
Read also:Custom Udon The Ultimate Guide To Crafting Your Perfect Bowl
Why Deploy IoT with Raspberry Pi?
Let’s get one thing straight: there are tons of ways to deploy IoT systems, but Raspberry Pi stands out for a reason. For starters, it’s a tiny yet mighty device that packs a punch when it comes to processing power. Plus, it’s super affordable, making it accessible to hobbyists, students, and professionals alike.
Here’s why Raspberry Pi is the go-to choice for IoT deployment:
- Cost-Effective: Compared to other hardware options, Raspberry Pi is budget-friendly without compromising on performance.
- Community Support: There’s a massive community of Raspberry Pi enthusiasts who share tutorials, projects, and tips online. You’re never alone on this journey.
- Customizable: From setting up sensors to creating complex automation systems, Raspberry Pi gives you the flexibility to tailor your IoT projects to your needs.
- Energy Efficient: Need a device that won’t drain your electricity bill? Raspberry Pi consumes minimal power, making it perfect for long-term IoT deployments.
So, whether you’re building a smart home system or monitoring environmental conditions, Raspberry Pi has got your back.
Understanding the Basics of IoT Deployment
Before we jump into the specifics of Raspberry Pi, let’s break down what IoT deployment actually means. At its core, IoT deployment involves connecting devices to the internet so they can communicate with each other, collect data, and perform tasks automatically.
Key Components of IoT Deployment
Every successful IoT project relies on a few key components:
Read also:Jameliz Desmuda The Rising Star Whos Lighting Up The World
- Sensors: These are the eyes and ears of your IoT system, collecting data from the environment.
- Gateways: Think of these as the middlemen that connect your sensors to the cloud or other devices.
- Cloud Platforms: This is where all the data gets processed and stored, enabling you to analyze and act on it.
- Actuators: These are the devices that take action based on the data collected, like turning on a light or adjusting a thermostat.
When you combine all these components with a Raspberry Pi, you’ve got yourself a powerful IoT setup that can handle anything from simple home automation to complex industrial applications.
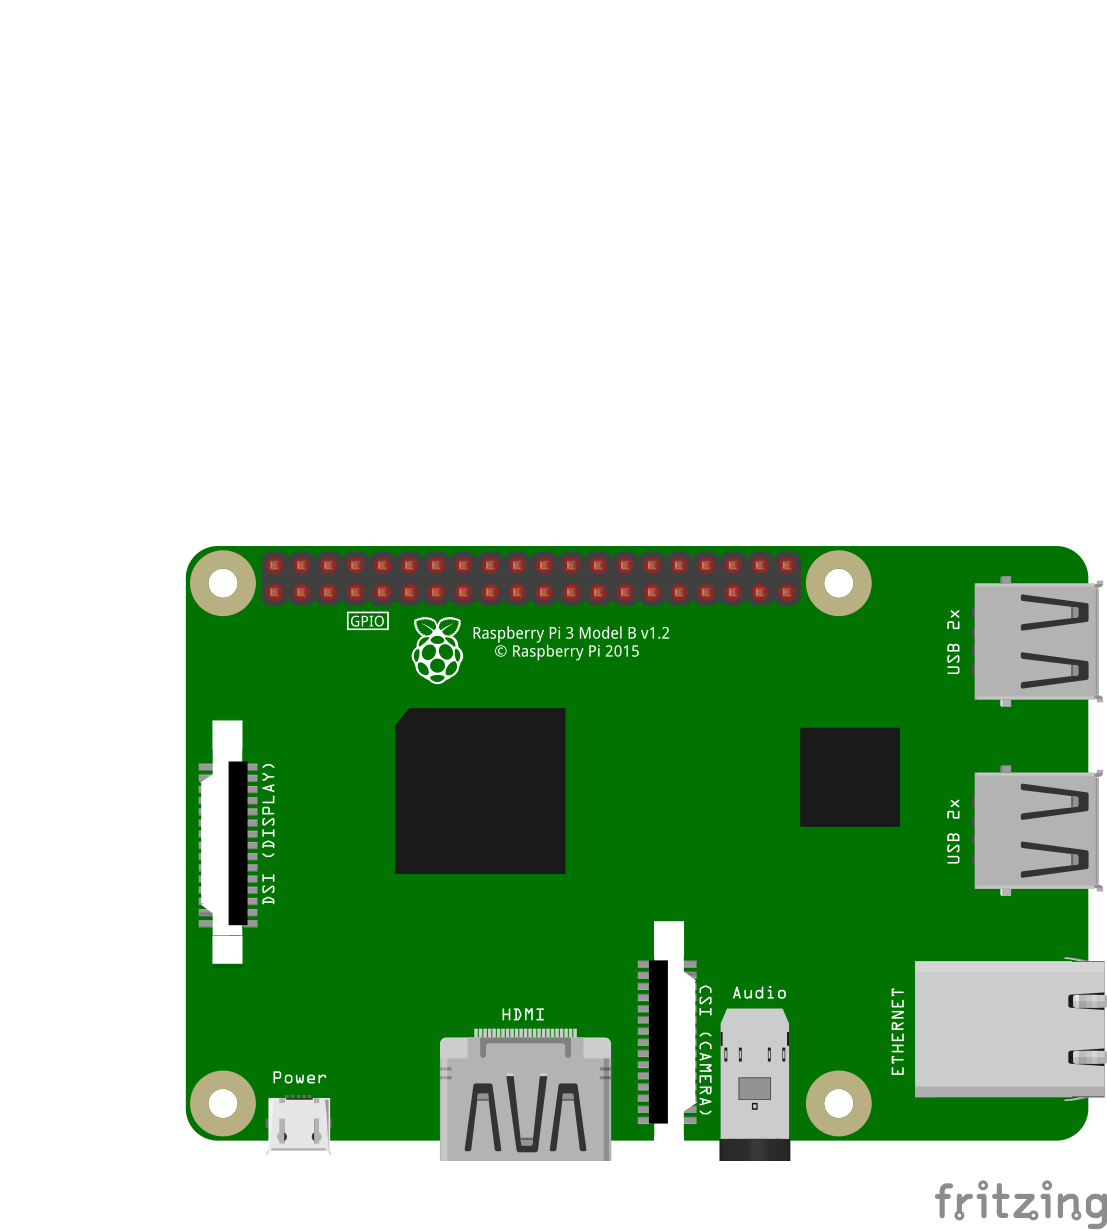
Setting Up Your Raspberry Pi for IoT
Alright, let’s get our hands dirty and set up your Raspberry Pi for IoT deployment. Don’t worry; it’s not as intimidating as it sounds. Follow these steps, and you’ll be up and running in no time.
What You’ll Need
- Raspberry Pi (any model will do, but newer models offer better performance).
- A microSD card with Raspberry Pi OS installed.
- A power supply compatible with your Raspberry Pi model.
- Internet connection (wired or wireless).
- Optional: Sensors, actuators, and other IoT components depending on your project.
Step-by-Step Guide
- Insert the microSD card with Raspberry Pi OS into your Raspberry Pi.
- Connect your Raspberry Pi to a monitor, keyboard, and mouse. Alternatively, you can use SSH to connect remotely.
- Power on your Raspberry Pi and wait for the OS to load.
- Connect to your Wi-Fi network by going to the top-right corner and selecting your network from the list.
- Update your Raspberry Pi software by opening the terminal and running the following commands:
sudo apt update
sudo apt upgrade
And just like that, your Raspberry Pi is ready for IoT deployment. Easy peasy, right?
Choosing the Right Sensors for Your IoT Project
Sensors are the backbone of any IoT system, so picking the right ones is crucial. The type of sensor you choose will depend on the specific needs of your project. Here are some popular sensor options:
- Temperature and Humidity Sensors: Perfect for monitoring weather conditions or indoor environments.
- Light Sensors: Ideal for automating lighting systems or detecting motion.
- Pressure Sensors: Great for measuring air pressure or detecting water levels.
- Gas Sensors: Useful for detecting harmful gases in the air, ensuring safety in homes and industries.
Remember, the more specific your sensor is to your project’s needs, the better the results you’ll get.
Connecting Raspberry Pi to the Cloud
Now that you’ve got your Raspberry Pi set up and your sensors ready, it’s time to connect everything to the cloud. This step allows you to store and analyze data from your IoT system in real-time.
Popular Cloud Platforms for IoT
- Amazon Web Services (AWS): Offers a wide range of services for IoT deployment, including data storage and analytics.
- Microsoft Azure: Known for its robust security features and scalability, making it ideal for enterprise-level IoT projects.
- Google Cloud Platform: Provides powerful tools for machine learning and AI integration, perfect for advanced IoT applications.
Connecting your Raspberry Pi to any of these platforms is straightforward, thanks to their well-documented APIs and SDKs.
Building Your First IoT Project with Raspberry Pi
Excited to put your new skills to the test? Let’s walk through building your first IoT project using Raspberry Pi. We’ll create a simple smart home system that controls your lights based on motion detection.
Project Requirements
- Raspberry Pi with Raspberry Pi OS installed.
- PIR Motion Sensor.
- Relay Module to control the lights.
- Python programming skills (don’t worry; we’ll guide you through it).
Project Steps
- Wire up the PIR Motion Sensor and Relay Module to your Raspberry Pi.
- Write a Python script to read data from the sensor and control the relay. Here’s a basic example:
import RPi.GPIO as GPIO
import time
GPIO.setmode(GPIO.BCM)
sensor_pin = 17
relay_pin = 18
GPIO.setup(sensor_pin, GPIO.IN)
GPIO.setup(relay_pin, GPIO.OUT)
while True:
if GPIO.input(sensor_pin):
GPIO.output(relay_pin, True)
print("Motion Detected!")
else:
GPIO.output(relay_pin, False)
time.sleep(1)
- Run your script and watch your lights turn on and off based on motion detection.
See? Building an IoT project with Raspberry Pi isn’t as hard as it seems.
Security Considerations for IoT Deployment
With great power comes great responsibility, and that’s especially true when it comes to IoT. Security should be a top priority in any IoT deployment to protect your data and devices from potential threats.
Best Practices for IoT Security
- Use Strong Passwords: Avoid using default passwords for your devices and platforms.
- Enable Encryption: Encrypt data transmissions between your devices and the cloud to prevent unauthorized access.
- Regularly Update Firmware: Keep your devices and software up to date to patch any security vulnerabilities.
- Implement Firewalls: Use firewalls to control incoming and outgoing network traffic, adding an extra layer of protection.
By following these best practices, you can ensure that your IoT deployment is as secure as possible.
Scaling Your IoT Deployment
Once you’ve successfully deployed your IoT system, you might find yourself wanting to expand its capabilities. Scaling your IoT deployment involves adding more devices, sensors, and functionality to your existing setup.
Tips for Scaling IoT Systems
- Plan Ahead: Design your IoT architecture with scalability in mind from the beginning.
- Use Modular Components: Choose devices and sensors that can easily integrate with your existing system.
- Monitor Performance: Keep an eye on your system’s performance as you add more components to ensure it can handle the increased load.
Scaling your IoT deployment might seem daunting, but with the right approach, it’s entirely achievable.
Real-World Applications of IoT with Raspberry Pi
Let’s take a moment to appreciate some of the amazing real-world applications of IoT with Raspberry Pi:
- Smart Agriculture: Farmers use IoT systems to monitor soil moisture, weather conditions, and crop health, leading to more efficient farming practices.
- Healthcare Monitoring: IoT devices powered by Raspberry Pi help track patient vitals and alert healthcare professionals in case of emergencies.
- Industrial Automation: Manufacturers deploy IoT solutions to optimize production processes and reduce downtime.
The possibilities are truly endless when it comes to IoT with Raspberry Pi.
Conclusion: Unlocking the Future with IoT and Raspberry Pi
We’ve covered a lot of ground today, from understanding the basics of IoT deployment to building your first project with Raspberry Pi. The deployment of IoT with Raspberry Pi opens up a world of opportunities for innovation and creativity.
So, what’s next? Take what you’ve learned and start experimenting with your own IoT projects. Whether you’re building a smart home system or monitoring environmental conditions, Raspberry Pi is the perfect tool to bring your ideas to life.
Don’t forget to share your experiences and projects with the community. Who knows? You might inspire someone else to dive into the exciting world of IoT. And hey, if you found this article helpful, drop a comment or share it with your friends. Let’s keep the tech revolution rolling!
Table of Contents
- Why Deploy IoT with Raspberry Pi?
- Understanding the Basics of IoT Deployment
- Setting Up Your Raspberry Pi for IoT
- Choosing the Right Sensors for Your IoT Project
- Connecting Raspberry Pi to the Cloud
- Building Your First IoT Project with Raspberry Pi
- Security Considerations for IoT Deployment
- Scaling Your IoT Deployment
- Real-World Applications of IoT with Raspberry Pi
- Conclusion: Unlocking the Future with IoT and Raspberry Pi
Article Recommendations