Raspberry Pi Remote Device Management: Unlocking The Full Potential Of Your Pi
Managing Raspberry Pi devices remotely is no longer just a tech enthusiast's dream but a practical necessity in today's connected world. Imagine being able to control, monitor, and maintain your Raspberry Pi projects from anywhere, anytime. Whether it's for home automation, IoT applications, or server management, remote device management brings a level of convenience and efficiency that was previously unimaginable. But where do you start? How do you set it up? And what tools are out there to make your life easier? Let’s dive in and explore the ins and outs of Raspberry Pi remote device management.
Nowadays, having a Raspberry Pi sitting quietly in a corner doing its thing is almost like having a secret agent working for you. But what happens when you need to check on it or tweak some settings? Do you really want to be stuck in front of the screen every single time? Remote management is the answer, and it’s not as complicated as it sounds. You can control your Pi from your phone, laptop, or even another Pi – yeah, that’s right, Pi on Pi action!
Before we get into the nitty-gritty, let’s clear the air. This isn’t just about convenience. It’s about maximizing the potential of your Raspberry Pi. Whether you’re running a weather station, a media center, or a smart home hub, remote device management gives you the freedom to focus on what matters most – innovation and creativity. So, buckle up, because we’re about to take you on a journey through the world of Raspberry Pi remote device management.
Read also:Xxx Videos Viral A Deep Dive Into The Phenomenon Shaping Online Trends
Why Raspberry Pi Remote Device Management Matters
Let’s be real here, folks. The Raspberry Pi has become more than just a tiny computer for hobbyists. It’s a powerhouse that can run everything from simple scripts to complex server applications. But managing these projects manually can be a real pain in the neck. That’s where remote device management comes in. It allows you to keep an eye on your Pi’s performance, troubleshoot issues, and update software without ever having to touch the physical device.
For businesses and professionals, this means saving time and resources. Instead of sending someone to physically check on a device, you can do it from the comfort of your office or even while sipping coffee at a café. For hobbyists, it means more flexibility and less frustration. No more rushing home just to fix a small bug or restart a service.
Understanding the Basics of Remote Management
Alright, let’s break it down. Remote device management for Raspberry Pi involves using software and protocols to connect to your Pi from another device over a network. This can be done locally within your home network or globally over the internet. The key is having the right tools and configurations in place.
Some of the most common methods include using SSH (Secure Shell), VNC (Virtual Network Computing), and web-based interfaces. Each method has its own advantages and limitations, so choosing the right one depends on your specific needs and setup.
SSH: The Workhorse of Remote Management
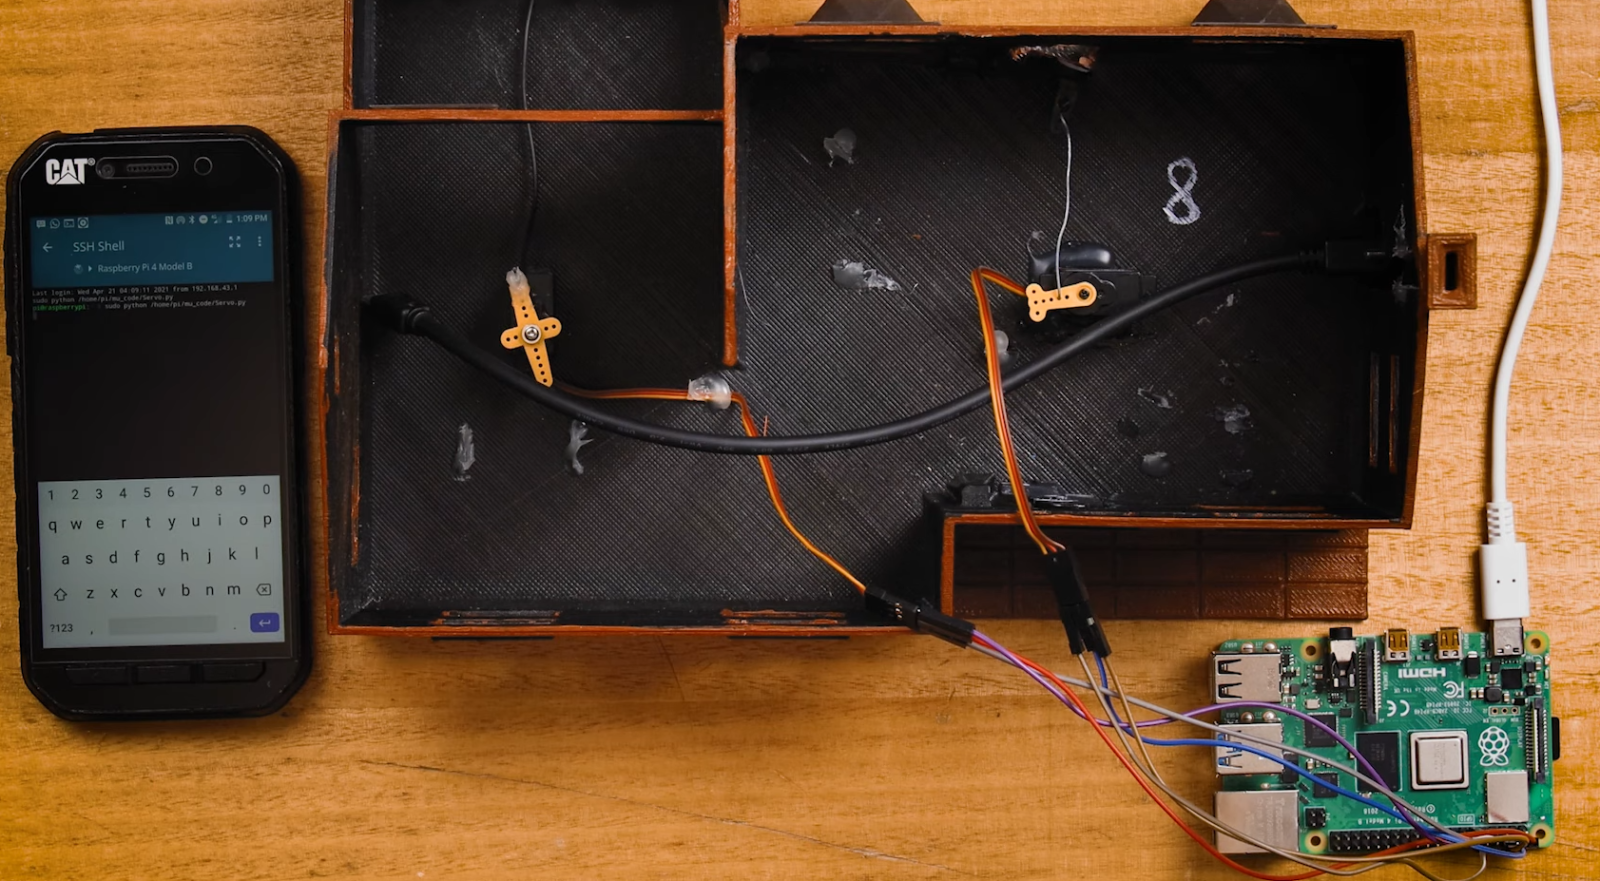
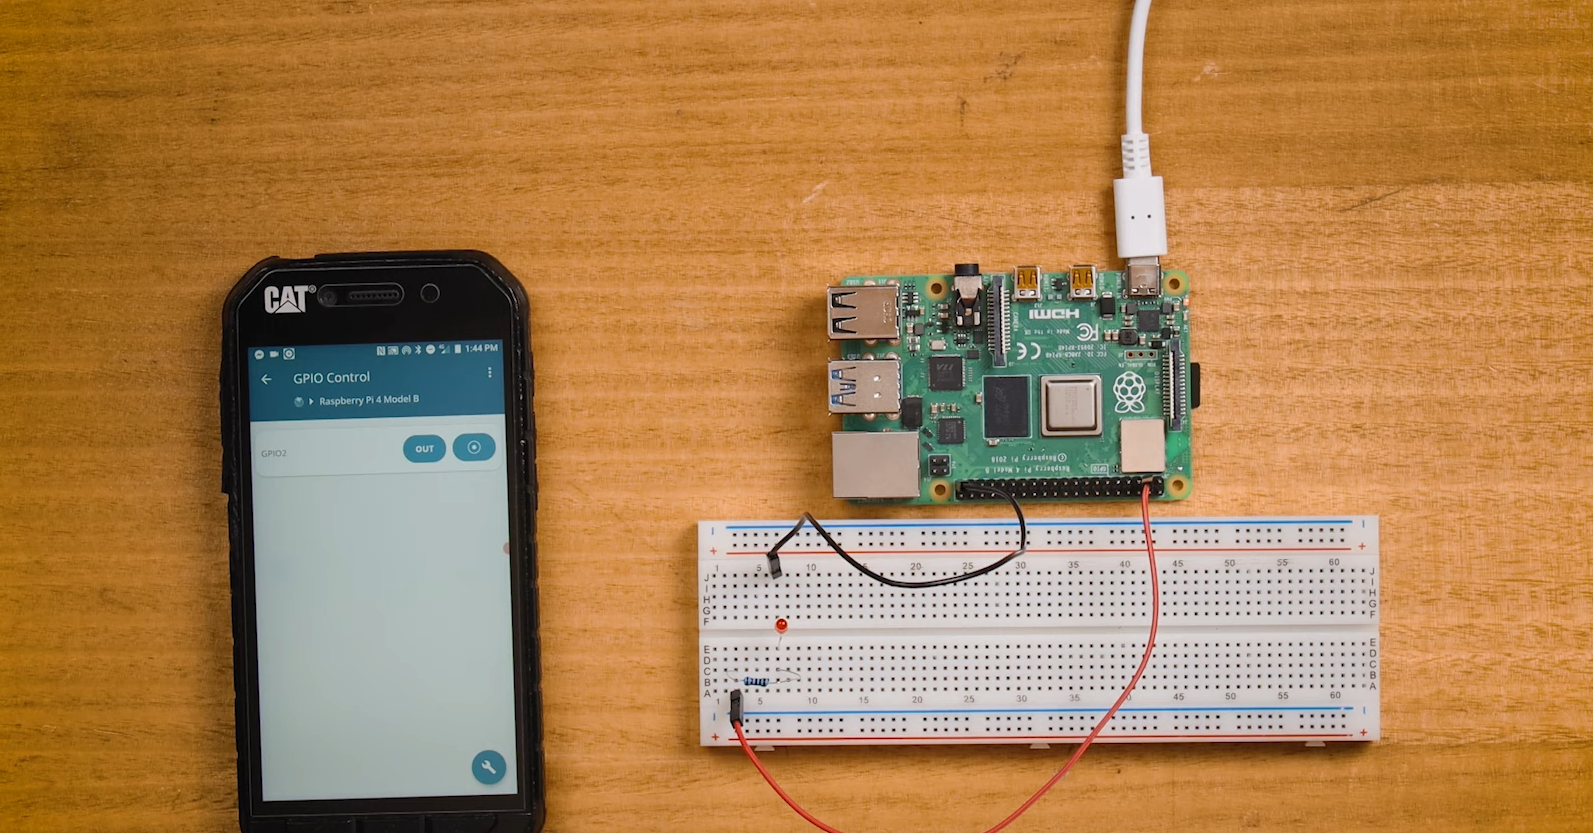
SSH is like the Swiss Army knife of remote management. It’s secure, reliable, and easy to set up. With SSH, you can access your Raspberry Pi’s terminal from any device with an SSH client. This is perfect for running commands, managing files, and monitoring system performance.
- SSH uses encryption to protect your data during transmission.
- You can automate tasks using scripts and cron jobs.
- It’s lightweight and doesn’t require much bandwidth.
VNC: When You Need a Graphical Interface
If you prefer a more visual approach, VNC is the way to go. It allows you to remotely control your Raspberry Pi’s desktop environment as if you were sitting right in front of it. This is ideal for tasks that require graphical interaction, such as configuring settings or running GUI-based applications.
Read also:Mia Khalifa With Her Boyfriend The Untold Story Youve Been Waiting For
- VNC provides a full desktop experience.
- It’s great for troubleshooting and demo purposes.
- However, it can be slower and more resource-intensive than SSH.
Setting Up Remote Access on Your Raspberry Pi
Now that you know why remote device management is important and what tools are available, let’s talk about how to set it up. The process may vary slightly depending on your Raspberry Pi’s operating system and your preferred method, but the general steps remain the same.
Step 1: Enable SSH or VNC
First things first, you need to enable SSH or VNC on your Raspberry Pi. This can usually be done through the Raspberry Pi Configuration tool or by editing the config files directly. For SSH, you can simply add an empty file called "ssh" to the boot partition of your SD card. For VNC, you’ll need to install the VNC Server software and configure it to start on boot.
Step 2: Find Your Pi’s IP Address
Knowing your Raspberry Pi’s IP address is crucial for connecting to it remotely. You can find this information by running the "ifconfig" or "ip addr" command in the terminal. If you’re connecting from outside your local network, you’ll also need to set up port forwarding on your router.
Step 3: Connect from Another Device
Once everything is set up on your Raspberry Pi, it’s time to connect from another device. For SSH, you can use clients like PuTTY (Windows) or the built-in terminal app (Mac/Linux). For VNC, you’ll need a VNC viewer app, which is available for most platforms.
Best Practices for Secure Remote Management
Security should always be a top priority when managing devices remotely. After all, you don’t want some random hacker gaining access to your Raspberry Pi and messing with your projects. Here are a few best practices to keep your setup safe:
- Use strong, unique passwords for SSH and VNC.
- Enable two-factor authentication (2FA) whenever possible.
- Keep your software and firmware up to date.
- Restrict access to specific IP addresses if you can.
Additionally, consider using a VPN to encrypt your connection, especially if you’re accessing your Raspberry Pi over the internet. This adds an extra layer of security and peace of mind.
Tools and Software for Raspberry Pi Remote Device Management
There are plenty of tools and software out there to help you manage your Raspberry Pi remotely. Some are free and open-source, while others come with a price tag. Here are a few of the most popular options:
1. Pi-Point
Pi-Point is a lightweight web-based interface that allows you to manage your Raspberry Pi from any browser. It’s perfect for beginners who want a simple and intuitive way to control their devices.
2. Balena
Balena offers a comprehensive platform for managing fleets of Raspberry Pi devices. It includes features like remote access, monitoring, and updates, making it ideal for enterprise-level projects.
3. Home Assistant
While primarily designed for home automation, Home Assistant also provides robust remote management capabilities. It integrates with a wide range of devices and services, giving you a centralized hub for all your IoT needs.
Real-World Applications of Raspberry Pi Remote Device Management
So, how exactly can you use Raspberry Pi remote device management in real life? The possibilities are endless! Here are a few examples:
1. Home Automation
Use your Raspberry Pi to control smart home devices like lights, thermostats, and security cameras. With remote management, you can adjust settings and monitor activity from anywhere.
2. Server Management
Turn your Raspberry Pi into a personal server for hosting websites, file sharing, or media streaming. Remote access makes it easy to maintain and update your server without downtime.
3. IoT Projects
Whether you’re building a weather station, a soil moisture sensor, or a smart garden, remote device management allows you to collect and analyze data in real-time.
Troubleshooting Common Issues
Even the best-laid plans can go awry sometimes. If you’re having trouble with your Raspberry Pi remote device management setup, here are a few common issues and how to fix them:
1. Can’t Connect via SSH
Make sure SSH is enabled on your Raspberry Pi and that you’re using the correct IP address and port number. Double-check your firewall settings and try restarting the SSH service.
2. Slow VNC Performance
Optimize your VNC settings by reducing the screen resolution and color depth. If you’re connecting over the internet, consider upgrading your internet plan or using a faster connection.
3. Security Concerns
If you’re worried about security, review your access controls and consider implementing additional measures like IP whitelisting or using a hardware firewall.
Conclusion: Take Control of Your Raspberry Pi
Remote device management for Raspberry Pi is a game-changer for both hobbyists and professionals. It gives you the freedom to manage your projects from anywhere, at any time, without being tied to a physical location. By following the steps and best practices outlined in this article, you can set up a secure and efficient remote management system that meets your needs.
So, what are you waiting for? Get out there and start exploring the world of Raspberry Pi remote device management. And don’t forget to share your experiences and tips in the comments below. Who knows, you might just inspire someone else to take the leap into the wonderful world of remote tech wizardry!
Table of Contents
- Why Raspberry Pi Remote Device Management Matters
- Understanding the Basics of Remote Management
- SSH: The Workhorse of Remote Management
- VNC: When You Need a Graphical Interface
- Setting Up Remote Access on Your Raspberry Pi
- Best Practices for Secure Remote Management
- Tools and Software for Raspberry Pi Remote Device Management
- Real-World Applications of Raspberry Pi Remote Device Management
- Troubleshooting Common Issues
- Conclusion: Take Control of Your Raspberry Pi
Article Recommendations